
How We Prepped & Painted Our RV Walls!!
Hello sweet friends, and welcome back to another blog post! I hope you're all doing well today! Since sharing the "before" and "afters" of our RV renovation on my Instagram, I've had many of you ask me for the process that we used to prep and paint our walls?! (Prepping and painting RV walls is much different than doing so for residential walls, and there are quite a number of steps.) Today, I want to share the steps that we took to get our walls looking from this to this!

BEFORE

AFTER
I hope that you enjoy, and feel free to ask any questions that you may have in the comment section of this post below!
STEP ONE: Remove all items from your walls, ceilings, and cabinetry, (such as cabinets, hardware, valances, light covers, outlet covers, decor, AC covers, etc.)! You can protect any larger items that you aren't able to move out of the RV with a drop cloth seen here!
STEP TWO: Many have asked me, “Is it really necessary to sand the walls prior to priming?” After much research, I've learned that it is necessary to sand any surface that you'll be painting in the RV for best results! (We sanded our kitchen surfaces, cabinets, ceilings, bunkbeds, and walls...literally anything that paint would touch!) Our walls are made of vinyl, and although we didn't have any wallpaper border in our 2018 version, you will want to also remove that border before starting to sand! We used a DEWALT Random Orbit Sander (Thanks Dad!), with 220 grit sandpaper, and also bought sanding sponges in the same level grit for more “hard to reach” places that our orbit sander couldn't fit. Be sure to sand over and flatten any raised holes in your walls that may have been a result of removing screws from blinds, valances, or other objects, etc. *Please note: We sanded over the walls until we felt a difference in texture (from rough to smooth). However, you DO NOT want to sand harshly where you fully remove the vinyl, or fully shave down the vinyl seams/borders.*
*ALSO, when sanding, priming, and painting more difficult to reach areas around your slides...don't make the same mistake that we did, (but a mistake we now laugh about!)!! We had A LOT of trouble reaching and painting around the slide areas. It was SUCH A TIGHT SQUEEZE, and I had no idea how anyone could possibly reach them! When we finished our renovation, and closed the slides to leave...we realized all of the areas we were STRUGGLING to paint became immediately FULLY ACCESSIBLE. I couldn't help, but laugh, although believe me, I wanted to cry, haha!!*


STEP THREE: Once we sanded over all of the surfaces and holes that we would be painting, (on our walls, cabinets, built in cabinetry, and ceilings), it was officially time to fill the holes! We used 3M High Strength Small Hole Repair to fill the holes, and the opposing side of the bottle to evenly smooth the area for drying. We placed a piece of painters tape next to each hole as to not miss, or forget to fill them which was very helpful! Once they dried, we started back at our first hole we filled, and sanded the holes again to create a clean, flat space for priming!

BEFORE

AFTER
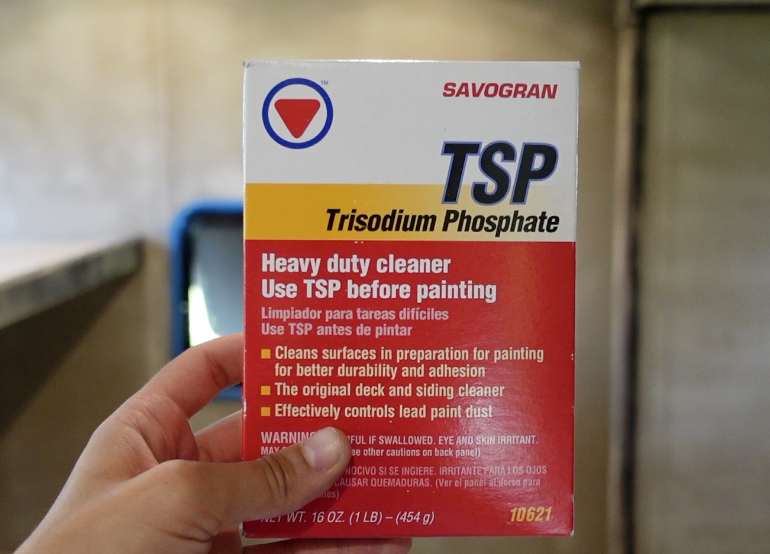
STEP FOUR: We used a TSP treatment to clean the walls after sanding...another MUST prior to priming. We prepared a bucket filled with warm water, protectant gloves, and a car washing sponge to wipe the treatment over all of the surfaces that we had previously sanded as instructed on the box. Be prepared, it will remove a lot of sanding dust, and the sponge will need to likely be rinsed in between wiping down! Once we used the treatment, and followed the directions on the box to wipe down the surfaces, we rinsed/cleaned the sponge, filled the bucket with clean water, and did another wipe down of all the surfaces.

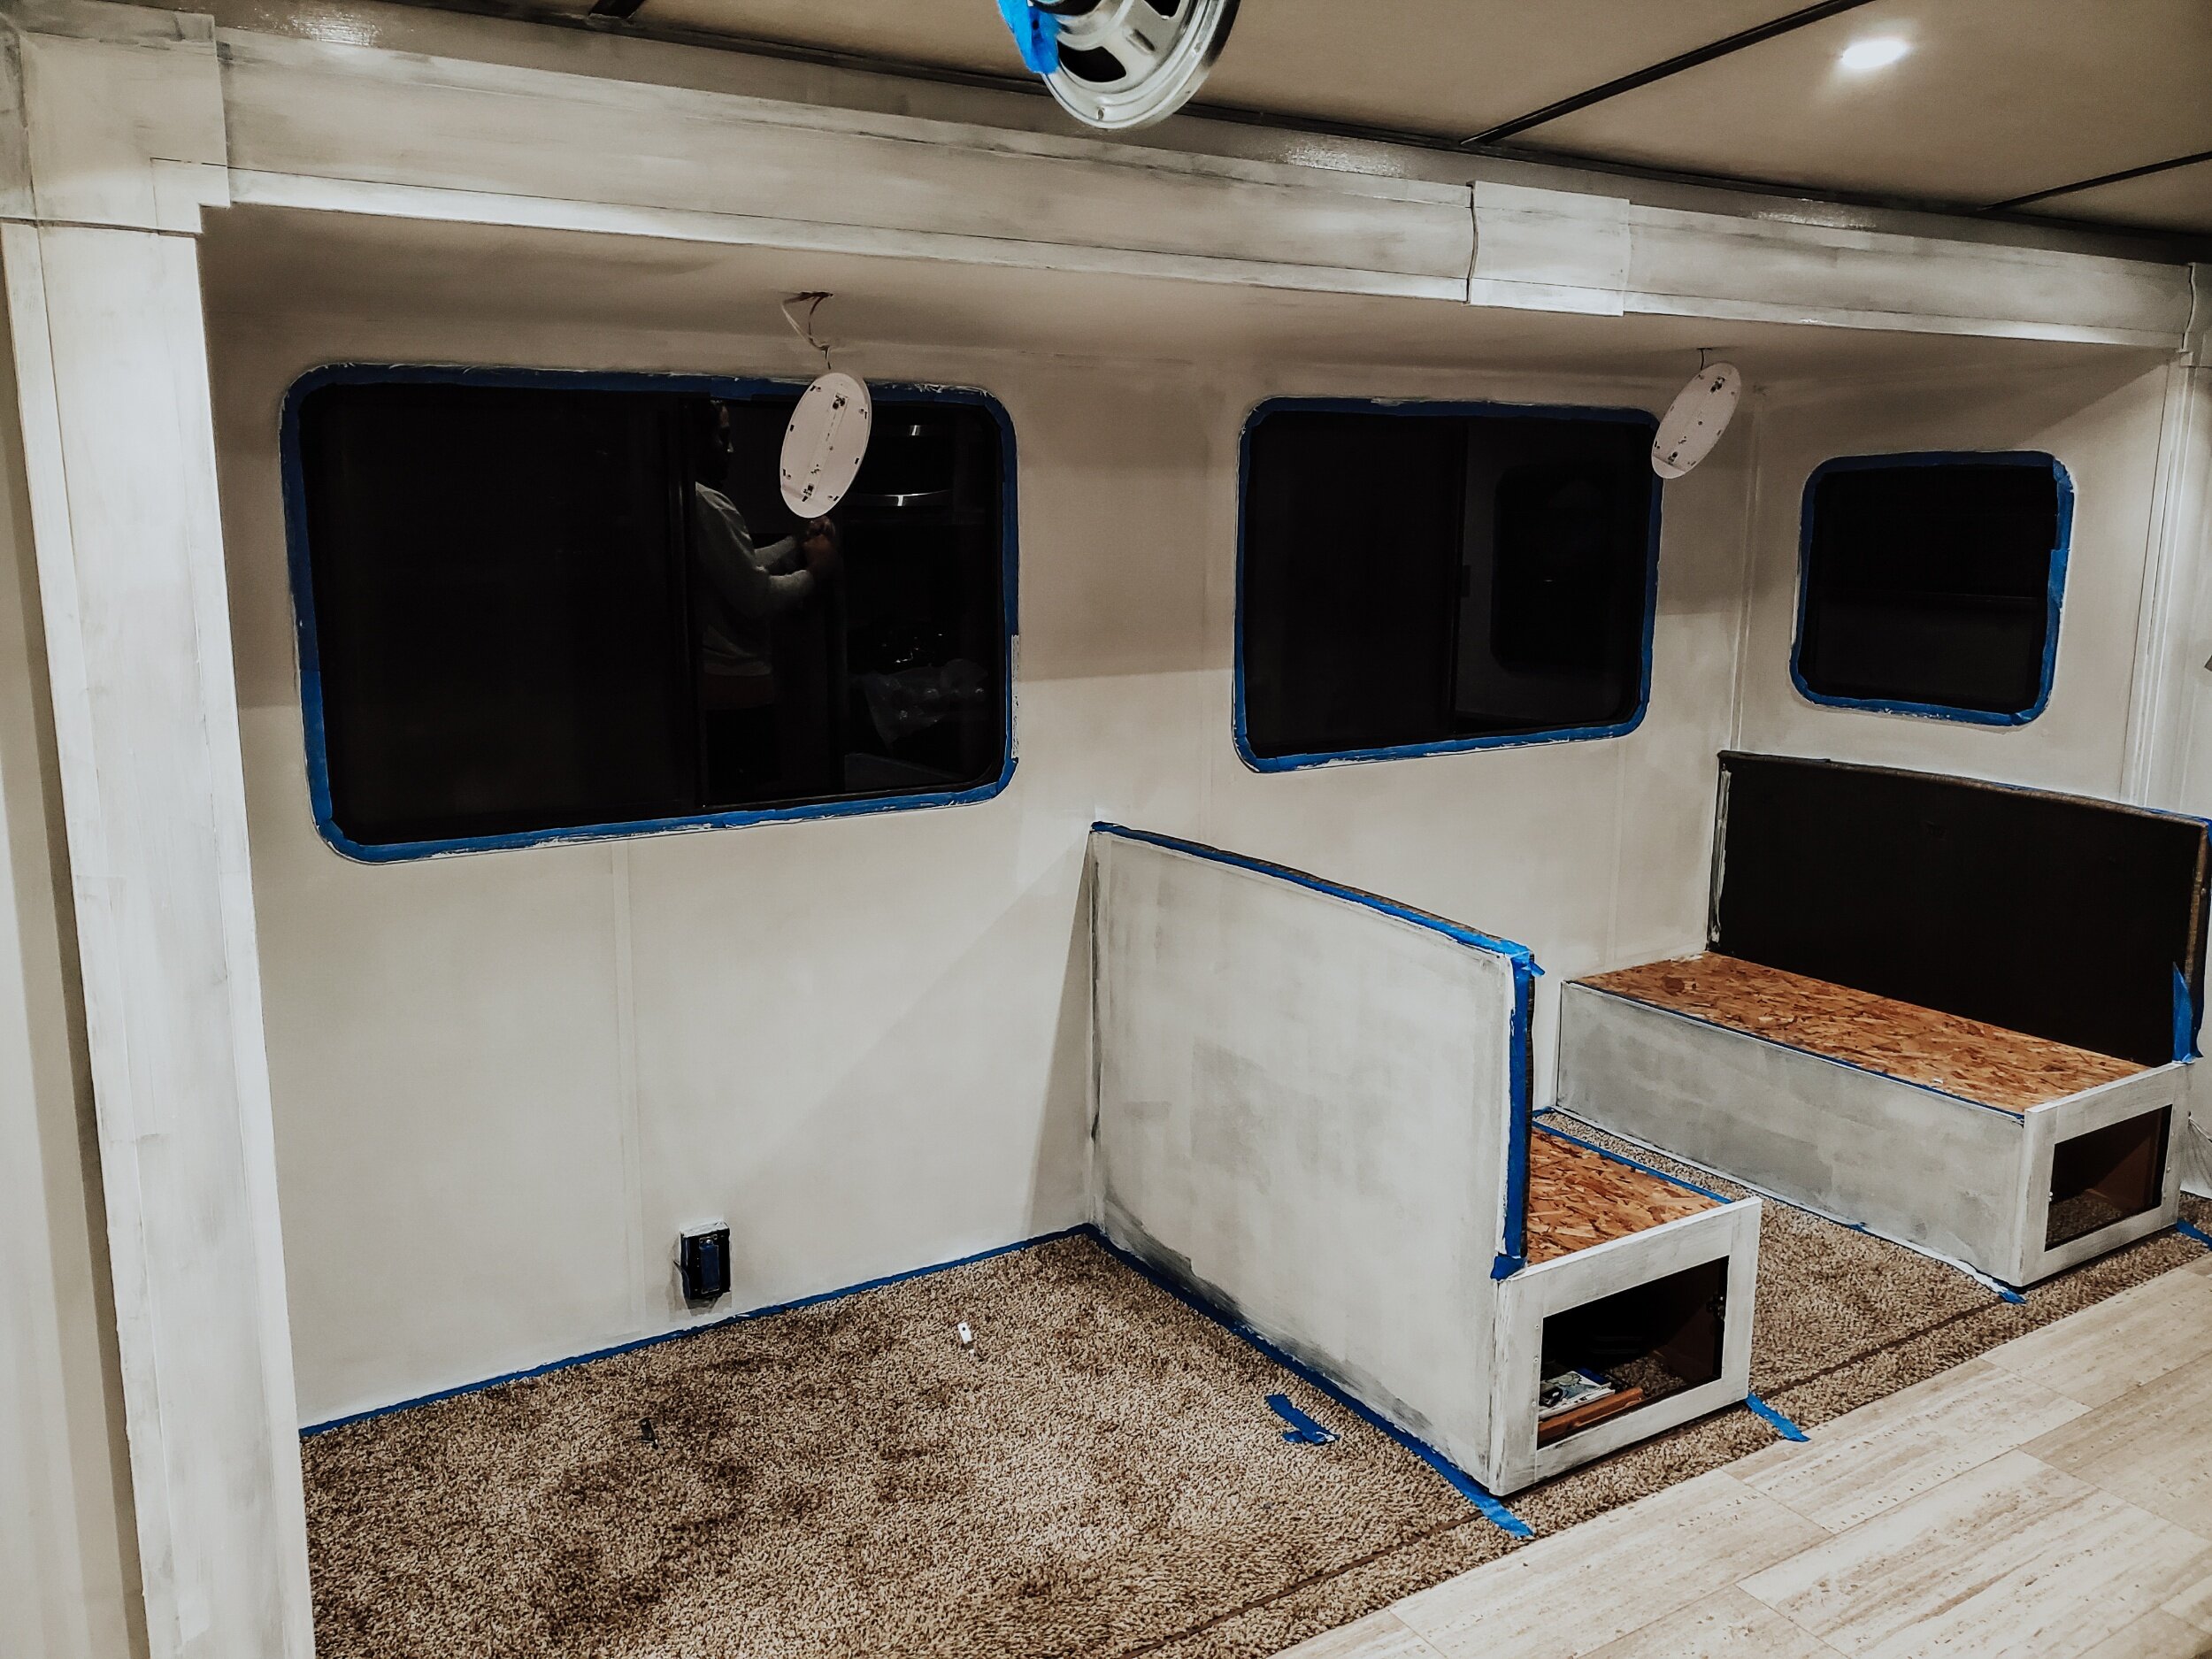
STEP FIVE: Once the walls were finally clean, we taped off necessary areas with painter's tape! We taped around our windows, and any other places where we didn't want our primer or paint to touch! We used Scotch Blue painters’ tape, but ended up preferring Frog tape painter’s tape because it seemed to hold better on our walls and around our windows!

STEP SIX: Next, we got ready to prime! We used Zinsser Bulls Eye 123 primer, and applied two coats on every surface. Some other primers we've heard of RVers successfully using are Kilz Bonding Primer from Amazon and Glidden Bonding Primer from Home Depot. We've heard some say you only need one coat of primer, and others say two is necessary (especially if the dark surfaces poke through which was our concern). Here is the painting equipment we used to prime and paint. We made sure the primer was completely dry in between coats, as well as before the start of our next step...PAINTING! (Feel free to share how many coats of primer you used, and if you were satisfied, in the comments below!)


STEP SEVEN: Time to paint! We went with Alabaster from Shermin Williams in Eggshell! We decided to paint this color on the upper cabinets, as well as on all of the walls, dinette, and ceilings! We used Farm to Table by Shermin Williams as our accent color on the bottom cabinets as well as in the bunk room! (There are SO many gorgeous greens to choose from, but we were very happy with the one we chose!) We put two coats on the cabinets and bunk room accents. In order to speed up the drying process, we turned the AC on overnight, and noticed a faster dry time. Many suggest to remove the painter's tape while the paint is still wet. We found this to be both effective and ineffective at times! We also found it helpful to use a razor cutter across the areas prior to pulling the tape off for a guaranteed pull of the tape, and NOT a pull of the paint as well.


And now, the REVEAL!!!…
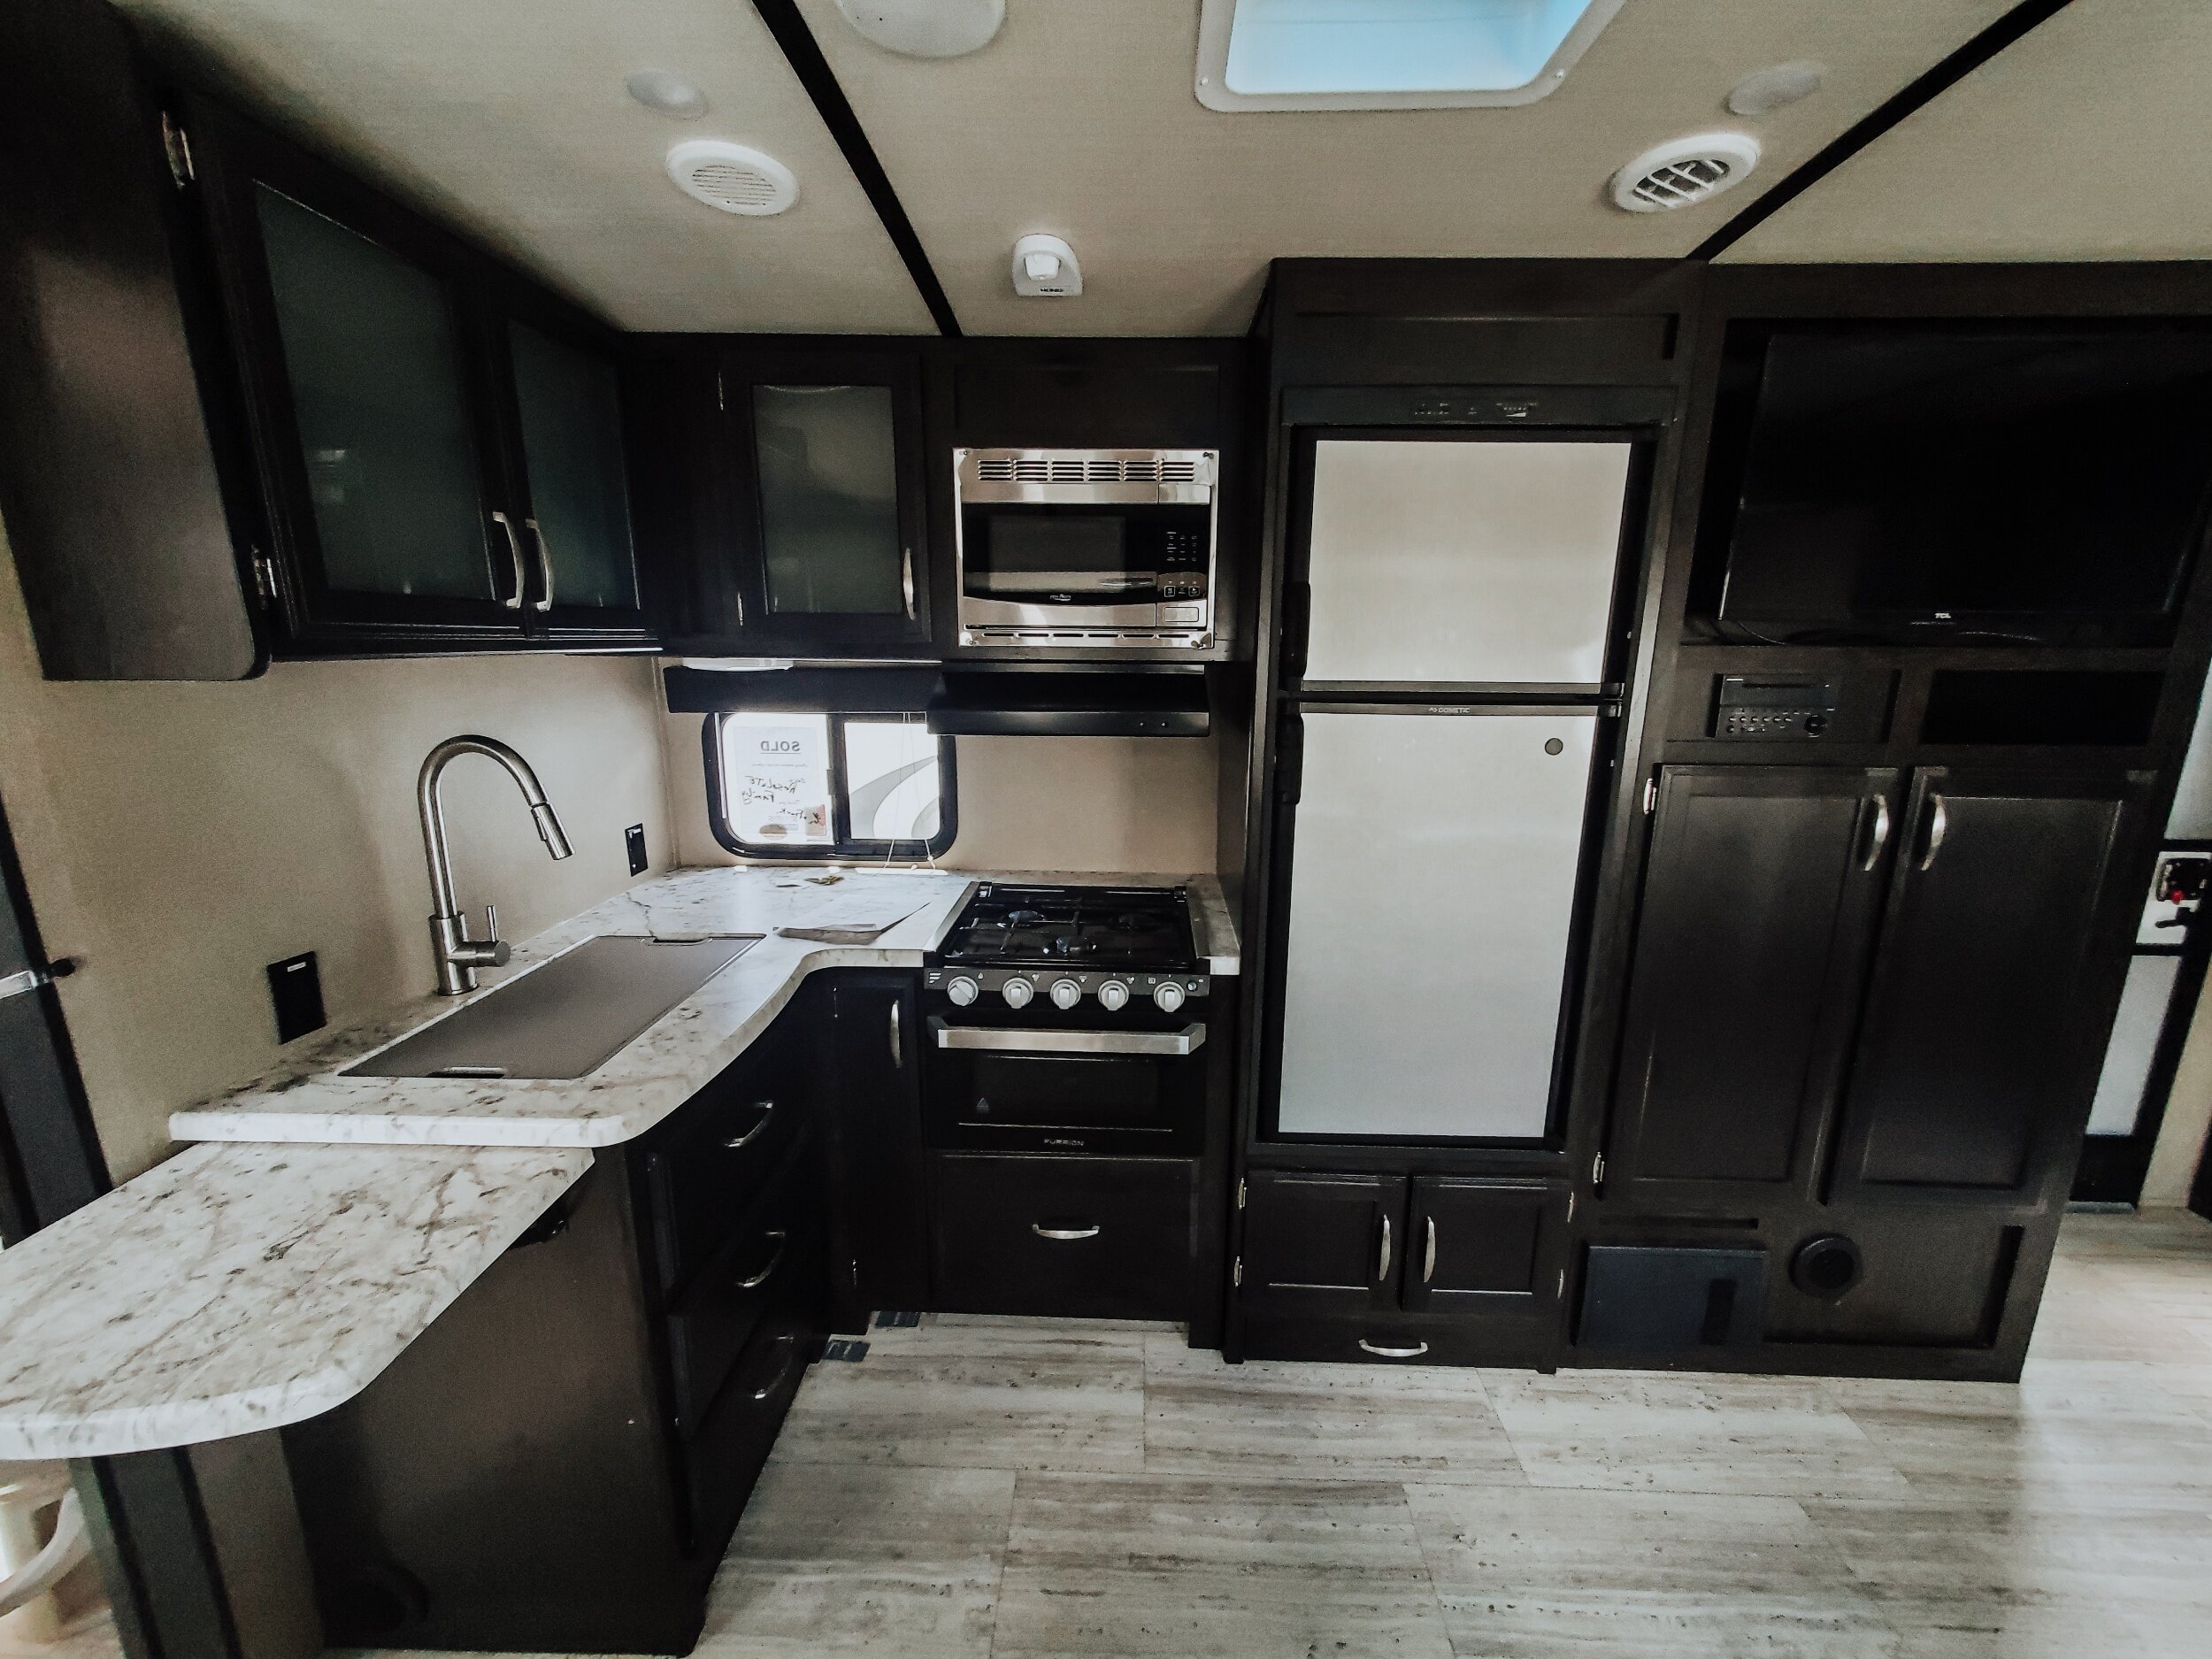
Kitchen BEFORE!

AFTER: Still have lots of fun projects to do: backsplash, cabinetry covers, and of course, decor!
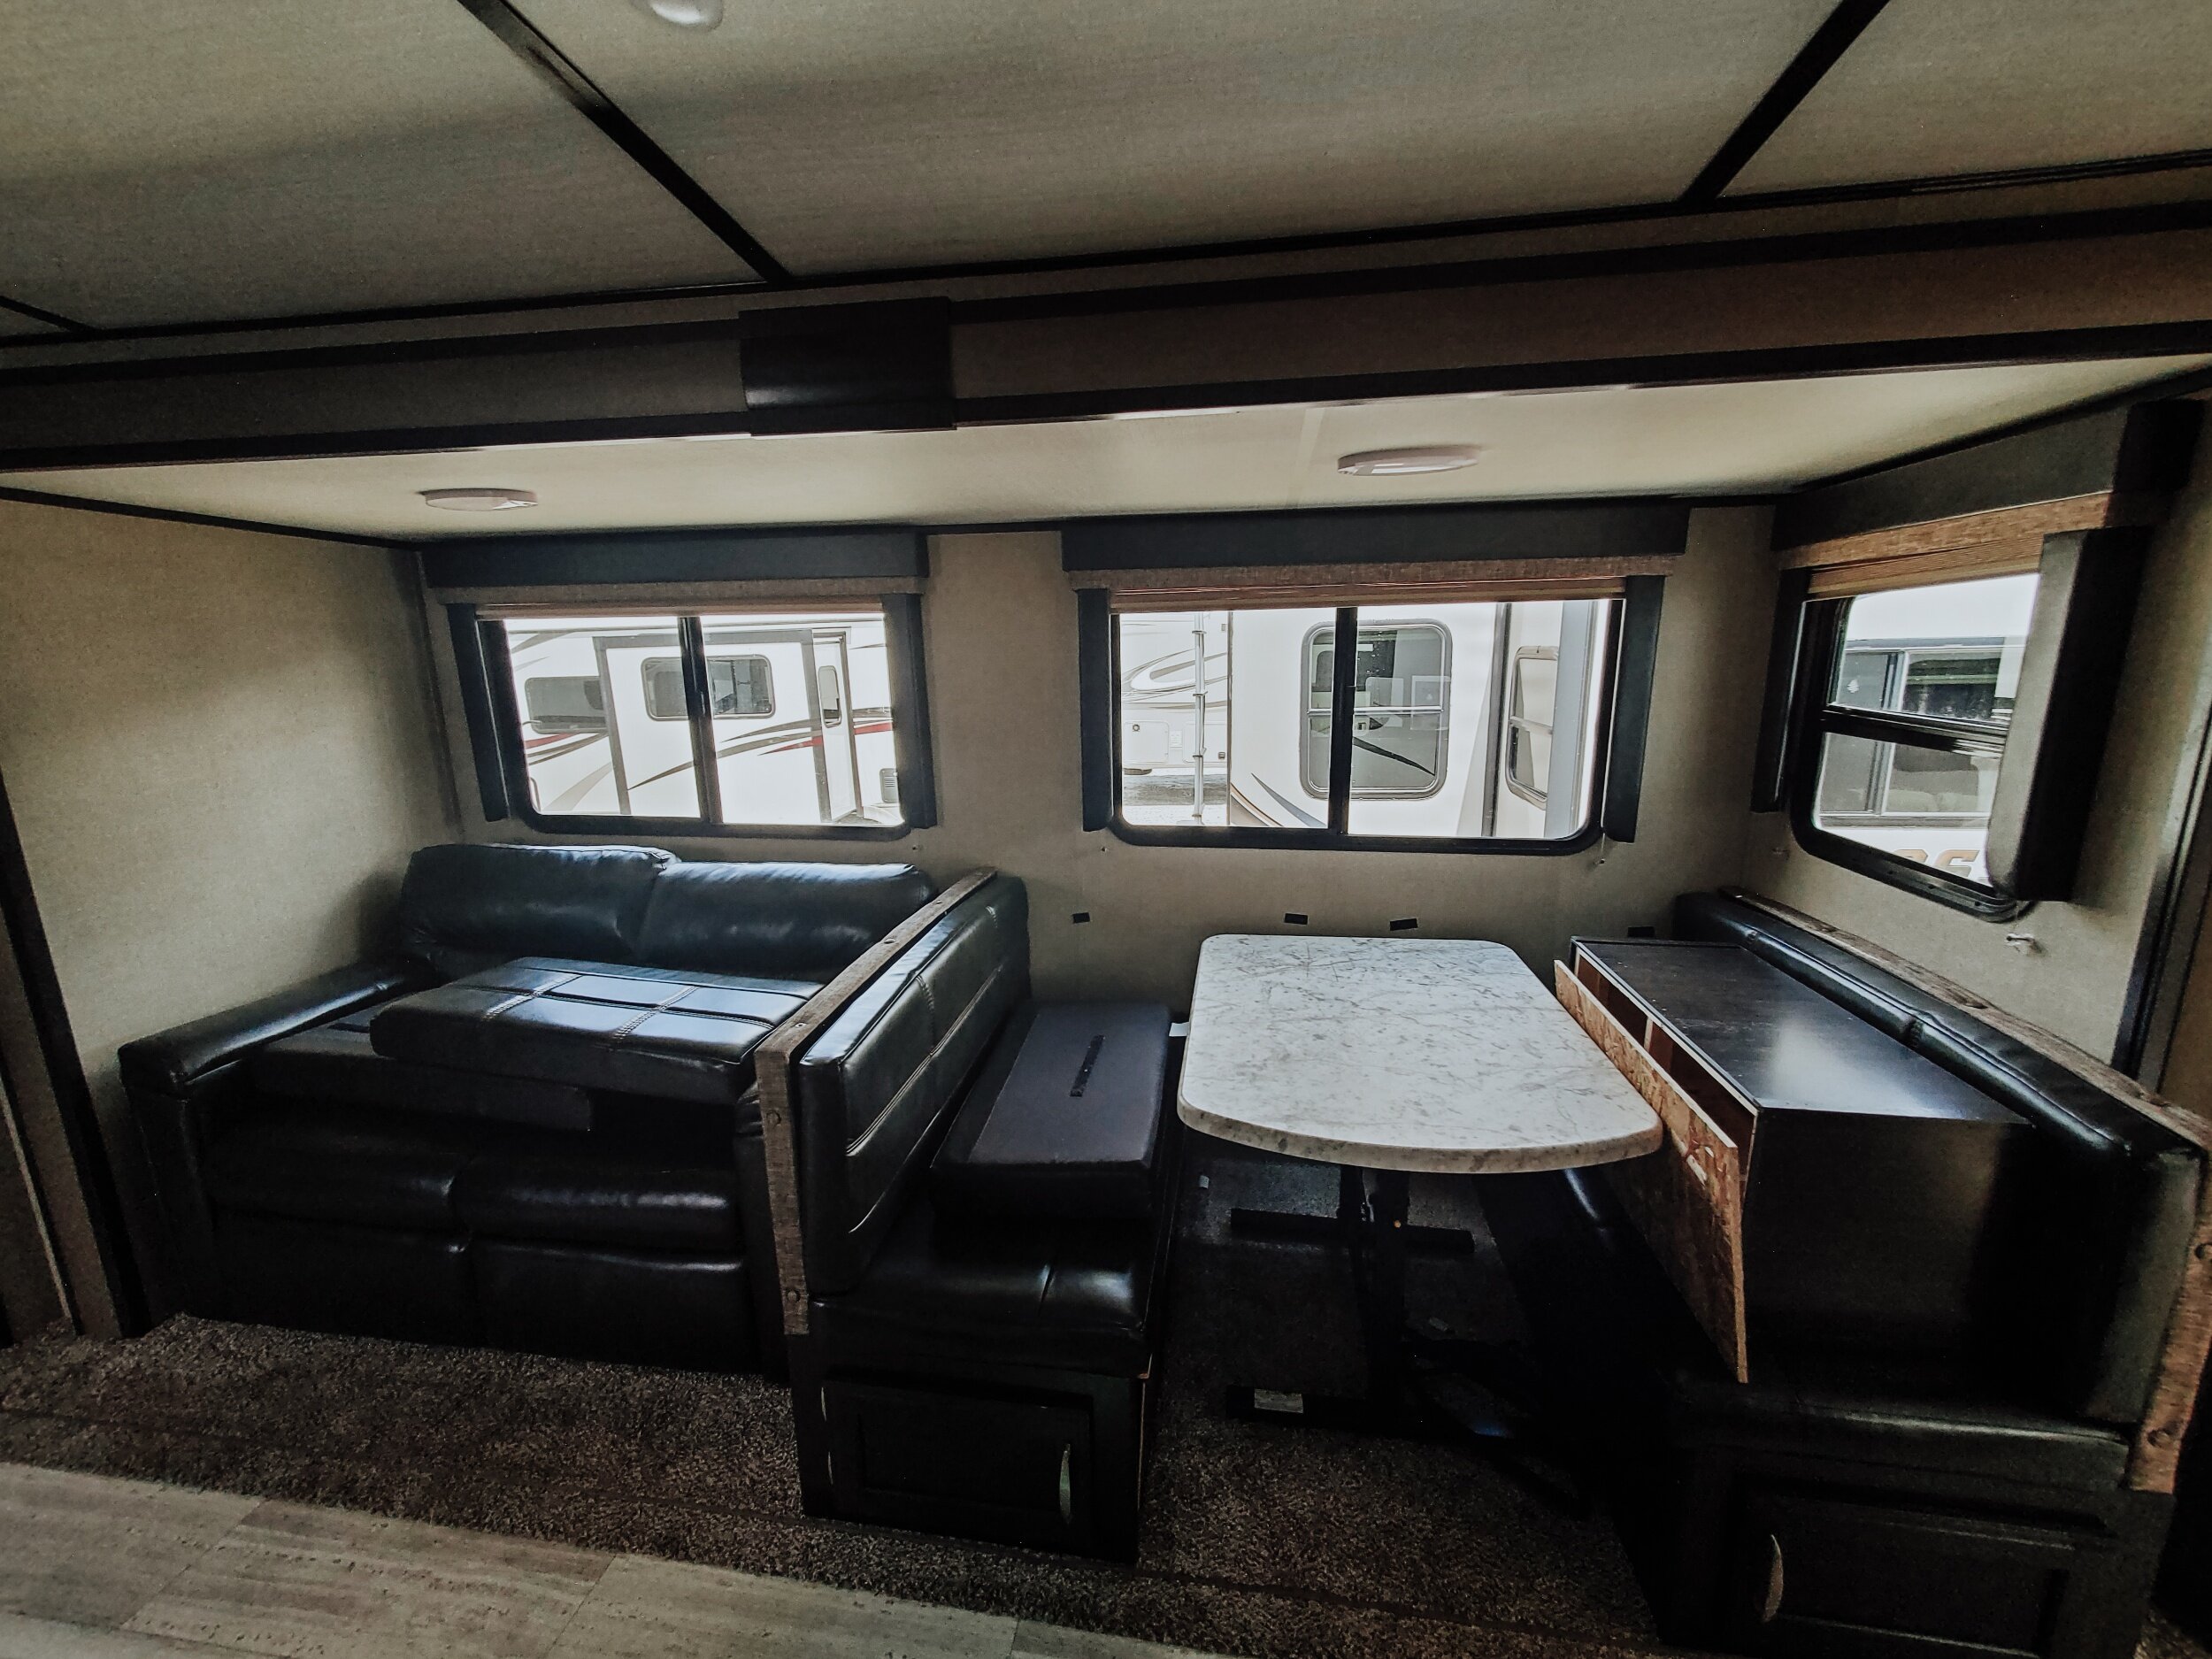
Living room BEFORE!

AFTER: SO much brighter in here! Can’t wait to hang some pieces I have, including a bunch of plants!

Bunk room BEFORE!

AFTER: My husband and I built, stained, and later added these gates ourselves! More pictures can be seen on my IG @ coolmomandcollected
At the end of five days we were so pleased with the results! After doing the math, we worked a total of five 14 hour days straight!! In that time, we primed and painted our main living space (kitchen and living room) and our kid's bunk room! I suggest taking a realistic approach to how much time it will take to renovate prior to getting started for less stress and more realistic results, haha! I hope you enjoy the “before” and “afters,” and I hope that this was a helpful blog post for you! Please feel free to leave any questions that you may have down below, and follow me on IG (coolmomandcollected) and my Youtube channel for more homemaking content in my RV! Happy renovating!!
Cool, Calm, and Collectedly Yours,